How To Install Cabinets?

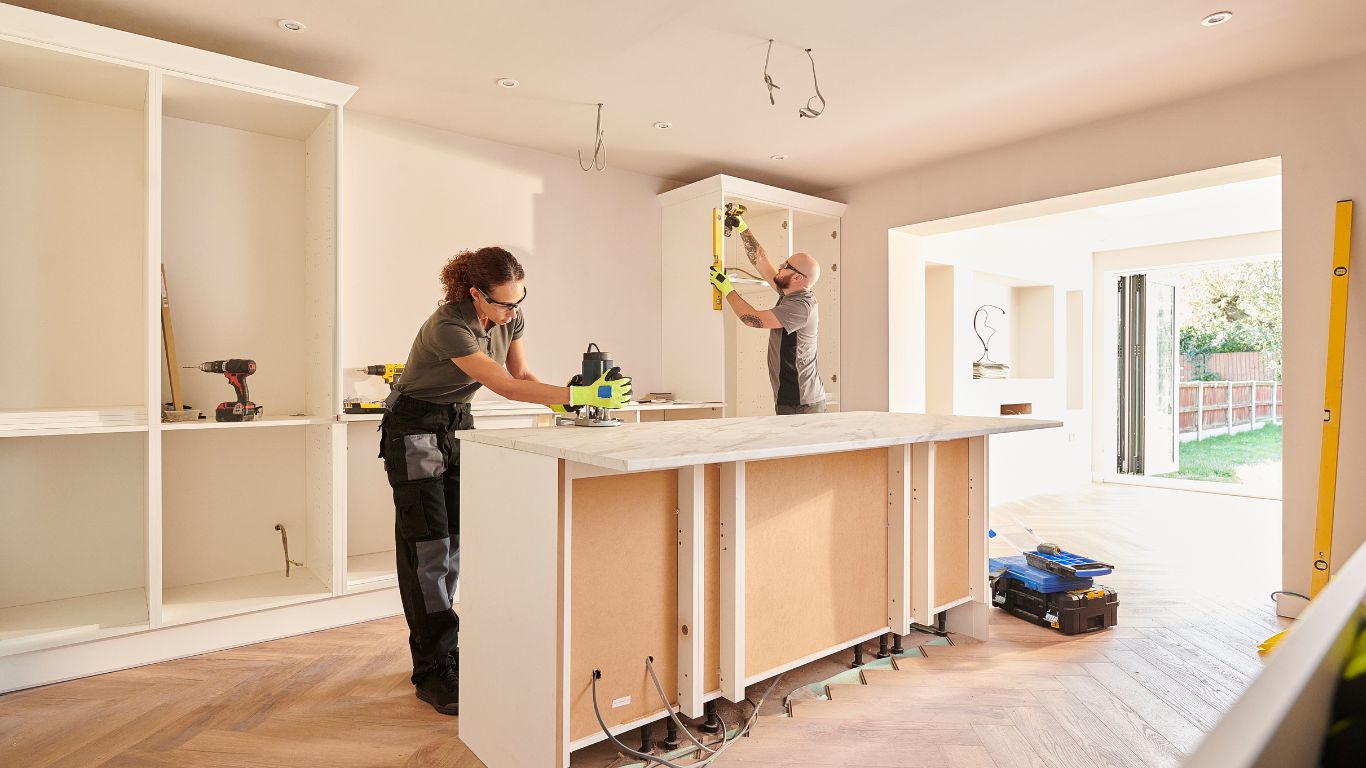
Installing cabinets is a multi-step process that requires careful planning and execution. Here’s a general guide on how to install both base and wall cabinets. Always refer to the manufacturer’s instructions that come with your specific cabinets, as there might be variations.


I. Planning and Preparation:

  •  Review Your Design: Ensure you understand the layout, including the location of each cabinet.
  •  Locate Wall Studs: Use a stud finder to mark the location of wall studs. Cabinets must be securely anchored to these for support. Mark the center of each stud with a vertical line that extends above and below where the cabinets will hang.
  •  Determine the High Point: For base cabinets, find the highest point on your floor using a long level (at least 6 feet is recommended). All base cabinets will be leveled to this height using shims.
  •  Establish a Level Line: For wall cabinets, determine the desired height of the bottom of the upper cabinets (typically 18 inches above the countertop for base cabinets and upper cabinets). Snap a level horizontal line on the wall at this height. This will be your reference line for the top of the base cabinets and the bottom of the upper cabinets.
  •  Mark Cabinet Positions: Using your design and the level line, mark the outline of each cabinet directly on the wall, including their top, bottom, and side edges. Transfer the stud locations onto these outlines.
  •  Gather Your Tools and Materials: You’ll likely need:
    • Stud finder
    • Level (2-foot and 4-foot or longer)
    • Measuring tape
    • Pencil or marker
    • Drill and drill bits (various sizes)
    • Screws (cabinet installation screws, typically 2 ½ to 3 inches long)
    • Shims
    • Clamps (cabinet clamps or face frame clamps)
    • Safety glasses
    • Ladder
    • Optional but recommended:
    • Laser level
    • Cabinet hardware jig
    • Center punch
    • Ledger board (for supporting upper cabinets during installation)


II. Installing Base Cabinets:

  •  Locate the High Spot: As determined in the planning phase.
  •  Position Corner Cabinets First (if applicable): Starting in a corner helps ensure the rest of the cabinets align correctly. Align the top of the cabinet with your level line on the wall.
  •  Level and Shim: Place shims under the base of the cabinet until the top edge is perfectly level with your reference line. Shim both front to back and side to side. Ensure shims are placed at stud locations where you will be screwing.
  •  Attach to the Wall: Pre-drill pilot holes through the back of the cabinet and into the wall studs. Secure the cabinet to the studs with cabinet installation screws.
  •  Install Adjacent Cabinets: Position the next cabinet, aligning its face frame with the previously installed cabinet. Use clamps to hold the face frames together tightly and ensure they are flush.
  •  Level and Shim: Again, use shims to ensure the top of the cabinet is level with the adjacent one and with your reference line.
  •  Screw Cabinets Together: Pre-drill pilot holes through the face frames where they meet and secure them together with screws.
  •  Attach to the Wall: Pre-drill pilot holes through the back of this cabinet into the wall studs and secure it with screws.
  •  Repeat: Continue this process for all base cabinets, working your way across the room. Ensure each cabinet is level with its neighbors and securely fastened to the wall studs.
  •  Cutouts for Plumbing/Utilities: If necessary, cut holes in the back of the base cabinets for plumbing or electrical using a hole saw or jigsaw after the cabinets are positioned but before final attachment to the wall.


III. Installing Wall Cabinets:


  •  Install a Ledger Board (Recommended): For heavier upper cabinets, screwing a temporary ledger board (a straight piece of wood) level along the wall at the bottom of where the upper cabinets will sit provides temporary support during installation. This makes the process much easier, especially for one person. Ensure the ledger board is also screwed into wall studs.
  • Position Corner Cabinets First (if applicable): Align the bottom of the cabinet with your level line (or resting on the ledger board if used) and ensure it’s level side to side.
  • Attach to the Wall: Pre-drill pilot holes through the back of the cabinet and into the wall studs. Secure the cabinet with cabinet installation screws.
  • Install Adjacent Cabinets: Lift the next cabinet into place, aligning its face frame with the previously installed one. Use clamps to hold the face frames together tightly and ensure they are flush.
  • Level: Ensure the tops and bottoms of the adjacent cabinets are level with each other.
  • Screw Cabinets Together: Pre-drill pilot holes through the face frames where they meet and secure them together with screws.
  • Attach to the Wall: Pre-drill pilot holes through the back of this cabinet into the wall studs and secure it with screws.
  • Repeat: Continue this process for all wall cabinets, ensuring each is level and securely fastened.
  • Remove Ledger Board: Once all upper cabinets are securely attached, carefully remove the ledger board.

IV. Finishing Touches:

  • Install Shelves: Place the adjustable shelves inside the cabinets.
  • Install Doors and Drawers: Attach the doors and drawer fronts according to the manufacturer’s instructions. Adjust hinges and drawer slides as needed to ensure proper alignment and operation.
  • Install Hardware: Install knobs and pulls using a cabinet hardware jig for consistent placement.
  • Install Toe Kicks (for base cabinets): Cut and install toe kick boards to cover the gap at the bottom of the base cabinets for a finished look.
  • Caulk Seams: If desired, caulk any small gaps between the cabinets and the walls for a seamless appearance.


Important Considerations:

  • Safety First: Always wear safety glasses when drilling and handling tools.
  • Accurate Measurements: Double-check all measurements before cutting or drilling.
  • Pilot Holes: Always pre-drill pilot holes, especially when screwing into hardwoods or near the edges of the cabinet material, to prevent splitting.
  • Don’t Overtighten: Tighten screws firmly but avoid overtightening, which can damage the cabinets.
  • Get Help: Installing cabinets can be challenging, especially for larger projects. Don’t hesitate to ask a friend or professional for assistance.

By following these steps and the specific instructions for your cabinets, you can successfully install your new cabinets and transform your space.


Facebook
X
LinkedIn
Pinterest